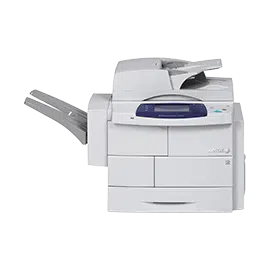
Xerox 4250 Driver
Published:
August 10th, 2022
Updated:
August 10th, 2022
Developer:
Version:
5.216.15
Platform:
Xerox 4250 Driver Windows 32-bit/64-bit
Table of Contents
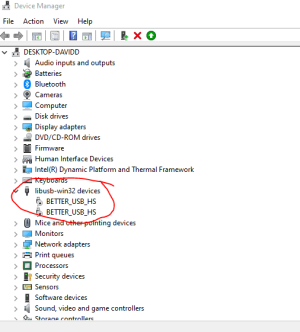
How to Install the Xerox 4250 Driver?
To install the Xerox 4250 Driver, first, download the right driver for your PC. You can find the appropriate driver for your operating system from the links provided below. Double-click the driver file to install it. Follow the installation instructions displayed on the desktop. Afterward, you will be asked to choose options and items to complete the installation process. After you have selected the right driver, click the Next button to proceed with the installation.
Xerox WorkCentre 4250/4260 Series System Administration Guide:
Xerox WorkCentre 4250/4261 Series System Administration Guide provides information about network and file settings. The user can configure document names and settings and select the type and format of output documents. Other important information is contained in this guide, such as LDAP configuration and address books. Read this guide to learn how to manage the printer and network. If you’re not familiar with these topics, you should consult a technical manual to help you manage the printer.
The Xerox WorkCentre 4250/4261 Series System Administration Guide provides detailed information on network settings, including network scanning and distribution. Users can define a network scanning template that includes specific settings and destinations. You can also specify the name of a fax destination by referring to the guide. Once you’ve defined network scanning and distribution settings, you’re ready to start adding print jobs to your machine.
The Xerox WorkCentre 4250/4261 Series System Administration Guide has a section on dnsv6 configuration. This chapter provides information on the settings for the primary and secondary dnsv6 servers. It also explains how to configure a zero-configuration network. The Xerox WorkCentre 4250/4260 Series System Administration Guide includes detailed information on how to set up and maintain these systems.
Xerox Secure Access Server configuration:
The first step in deploying a Xerox workcentre 4250/4260 series secure access server is to make sure it is pointed to the device. In addition, you need to configure the TCP/IP and HTTP settings in your system to enable secure access authentication. You can also use this guide to get information about LDAP and network scanning.
You will need to configure a Xerox Secure Access Server to enable authentication. The documentation for this server will walk you through the process step by step. Next, you must connect the Secure Access Authentication device to the server. Once this is completed, you will be able to log into the secure access server and view the files and folders that have been uploaded. To set up a Secure Access Authentication device, follow the instructions in the documentation.
Once you have successfully configured the Xerox workcentre 4250/4260 series printer, the next step is to configure your server. The following table provides steps on how to configure the Xerox Secure Access Server. Follow the directions carefully and you will be able to scan securely from any computer in your network. When your network is up and running, you can scan it from any computer and share it with others.