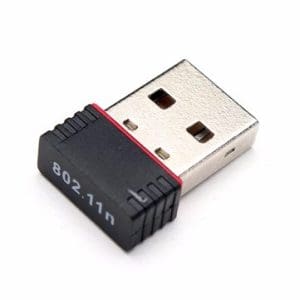
WiFi Driver for Windows 11
Published:
November 10th, 2021
Updated:
November 10th, 2021
Developer:
Version:
22.80.1
Platform:
WiFi Driver for Windows 11 Download Latest
Table of Contents
WiFi Driver for Windows 11:
If your router is still not showing any available networks. Even after rebooting it and checking the connection using the Wifi Direct client, then probably you need to download Wifi drivers for Windows 11 for your computer. Windows server will automatically detect the required driver on its own and install it on your PC automatically.
However, installing the drivers manually can also be risky as you may not know which one is appropriate for your device. The steps below are meant for people who are new to this process.
Steps to follow:
Step One:
To check if the network adapter is working properly, connect your Wifi capable device to the computer with the Wifi adapter. If you are in the process of setting up an automatic update of the driver, simply log on to the Windows Update application and click the “Check for updates” option in the list. Or you may use the Windows Update tool under Windows Vista in the Control Panel. Either way, you need to restart your system after the update to ensure that it gets installed properly.
Step Two:
To update your driver, open the Windows Driver Status Application. You can simply click Start > Run > type Regedit in the box and click OK. Or you may browse the Windows Driver Download Center to find available drivers. In this case. You must reboot your system after downloading the updated driver.
Step Three:
After rebooting your computer, you may proceed to install the latest Wifi driver on your PC by running the installer that comes with your Windows operating system. Selecting the device that you want to update will prompt you to install the latest driver. Follow the prompts carefully and allow all devices to be detected before continuing. You should see an option that allows you to continue.
Step Four:
From the start menu, click on Settings. Then Add/Remove Programs. Click on the “install or update chrome” tab and allow the installation to complete. When finished. You will be prompted to restart your computer for the changes to take effect. On the desktop, you will see a new icon for “Wireless Internet Connection” that you should click on. It is highly recommended that you allow this to become the default wireless connection in order to connect to your Wifi driver.
After installation of the latest driver:
Once you have installed the latest driver. You can continue to update chrome using the built-in Windows Update tool. Simply click on the “Check for updates” button and allow it to scan for the latest versions of Chrome. When it has updated, save power and restart your computer. You should now see the newly added icon on your main menu!