Epson WF 3733 Driver
Published:
October 28th, 2022
Updated:
October 28th, 2022
Developer:
Version:
6.4.9.0
Platform:
Epson WF 3733 Driver Windows 32-bit/64-bit
Table of Contents
How to Install the Epson WF 3733 Driver?
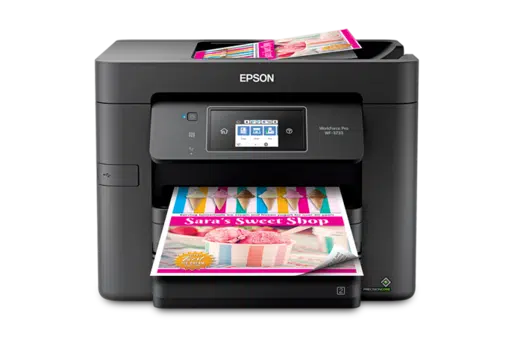
The Epson WF-3733 Printer Driver helps your computer and printer communicate with each other. It also helps you connect to Wi-Fi and network ports and send faxes. Listed below are a few tips to help you get started with your printer. You may also want to read the article titled “Connecting to Wi-Fi and Sending Faxes” if you are not sure how to get started.
Installing the printer’s driver:
The first step in installing the Epson WF 3733 driver is to make sure that the printer is connected to a power source. Next, you should connect the printer to the PC. After that, open the control panel and click on the Hardware & Sound option. You should then double-click the Epson WF 3733 driver file.
Once you have selected the driver file, click on “install”. Follow the on-screen instructions to install it. You should now be able to use the printer. This process will not be difficult if you follow the steps below. To make the process even easier, you can also download the driver file from Epson’s website. Once you’ve done this, you’re ready to install the Epson Workforce Pro WF-3733 driver.
Connecting the printer to Wi-Fi:
After you have installed the necessary printer drivers and software, you can connect the printer to your Wi-Fi network. In most cases, this only requires one cable, which you should plug into your printer. You should also make sure to turn on your Wi-Fi router. This step will enable you to print wirelessly from smartphones and tablets.
If your printer does not have wireless capabilities, you must connect it to your computer using a USB cable. Some printers have built-in menus that allow you to connect to your network. You can also refer to your printer’s manual, which is typically available in PDF format from the manufacturer’s support site. In addition, some printers have WPS push-to-connect connectivity. To connect to your wireless network, you must press the WPS button on the printer within two minutes.
Sending faxes from the Product Control Panel:
In order to send a fax, you can use the Product Control Panel. There, you can click the Fax tab. This tab provides extra information and allows you to customize the fax settings. First, you must log in as an administrator in the Control Panel. After logging in, select the appropriate country from the list.
To send a fax, you must first set the fax mode. The fax mode determines whether the call is a voice call or a fax. When a fax is sent to this mode, a ring is generated. If the fax is received, it logs into the activity log and in the job accounting. After sending and receiving a fax, you can print a confirmation report. You can also print the list of billing codes, but only if this feature is enabled.
Using the USB cable:
The Epson WF 3733 driver can be easily installed without the use of a CD or DVD. However, it is essential to make sure that your printer and computer are on the same wireless network. Moreover, you must make sure that the printer and computer have the same operating system.
If you receive the Digital Signature Not Found dialog box during the installation process, you should follow the steps below. This guide is applicable for users of Windows 98 and Me. The steps are the same for Windows 2000. You must unplug the power cord and then re-plug the USB cable for Epson WF 3733 driver.
After ensuring that the USB cable is properly connected, open the printer’s file manager. Click the “Disk drive” option and choose “Run as administrator.” Follow the prompts to install the driver. Afterward, you should activate your Epson printer.