Canon Lide 110 Driver
Published:
December 19th, 2021
Updated:
December 19th, 2021
Developer:
Version:
17.0.5
Platform:
Canon Lide 110 Driver for Windows 32-bit/64-bit Download
Table of Contents
Canon Lide 110 Driver:
The Canon Lide 110 Scanner Driver is compatible with Windows 10, 8.1, and 8 and is also available for the Apple Mac. This device is an excellent choice for anyone who frequently scans photos or documents. Its advanced features and capabilities make it a useful tool for any home or business office. It is a power-celeb-certified device, so it is easy to use and does not take a lot of energy.
Install the latest Canon Lide 110 Driver on Windows:
To install the Canon Lide 110 Driver on a computer, first, insert the CD into the optical drive of your PC. Run the setup program after the AutoPlay dialog box appears. If you get the User Account Control dialog box, press the “Yes” button to continue. Otherwise, click the “No” button to cancel the installation process. The driver package is now installed on your computer. Now, you can scan photos and documents with the Canon Lide 110.

Update Canon Lide 110 Driver:
To update the driver for the Canon Lide 110, go to the manufacturer’s website. You can also visit the customer support portal and download the latest version from there. If you are not confident with the technicalities involved, you can download the driver manually from the manufacturer’s website. But be warned: updating the driver manually can lead to errors, and an incorrect update can brick your system. So, always use the official drivers from Canon.
Follow the steps to install the driver:
To install the printer driver on your computer, follow the steps on the installation CD. The installation CD is an essential part of the device setup. Next, insert the CD into the optical drive of your computer. Once you have successfully done this, you can start the setup process. To do so, insert the CD into the optical drive of the computer and run the setup program. If you get a User Account Control (UAC) dialog box, click the OK button to confirm the installation.
Download the latest driver from the manufacturer’s website:
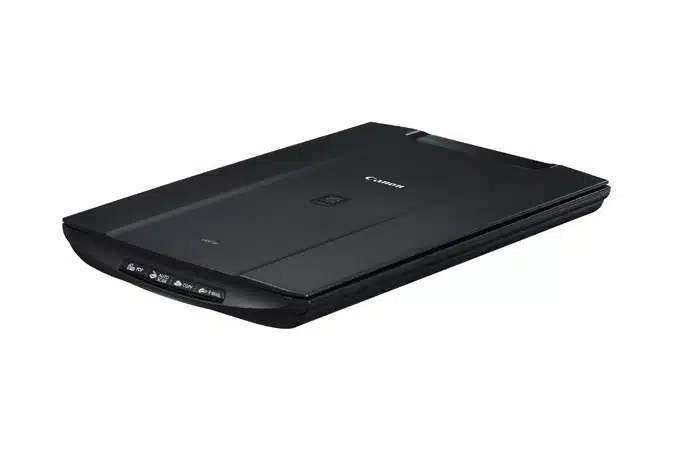
The Canon Lide 110 driver can be downloaded from the manufacturer’s website. The driver is free and available for Windows 7/8/10 and the Mac OS X and Linux systems. This compact color image flatbed scanner has a high-quality optical resolution of 2400 dpi. The speed of this device is 9 pages per minute. The Canon Lide 110 Driver is available for all three operating systems. There are some common errors you can encounter with the printer, but the driver is usually easy to fix.

Before the installation:
Before installing the Canon Lide 110 driver, you should check the compatibility of your operating system. If your system is compatible with Windows, then you should download the latest driver. If you’re using a Mac, you should install the driver for Windows. Then, insert the CD into your optical drive. If an AutoPlay or User Account Control dialog box appears, select the appropriate option. After installing the driver, you can now set up your Canon Lide 110 scanner.
Setting up a Canon Lide 110 Scanner:
When setting up a Canon Lide 110 scanner, you must first download and install the driver on your computer. Once you have installed the driver, you can start the setup process. You will need to insert the CD into your computer’s optical drive. Once the AutoPlay dialog box appears, click the “Run” button to launch the software. If the Windows User Account Control dialog box appears, select “No” to accept the installation.
Install the Canon Lide 110 Scanner Driver:
After installing the driver, you should install the printer. Once you have finished the setup process, you can start using your Canon Lide 110 scanner. Once you’ve installed the driver, you can now set up your scanner. To install the printer, you should insert the CD into the optical drive. After this, a User Account Control dialog box will appear. After you’ve installed the driver, you should click “OK” to confirm the installation.
The driver is an important part of your computer. It will allow you to set up the Canon Lide 110 scanner. To install the driver, you need to insert the CD into the optical drive. If a pop-up window appears, select the option to run the software. After a User Account Control dialog box appears, click “Run” to install the driver. The installation process will continue after the CD has been removed from the optical drive.